Creating Tutorial
Opening Tutorial Editor Window
Select your recently created Tutorial Master Manager GameObject, and click Edit.... This will open the window and automatically dock it next to the Project tab.
Alternatively, the window can be opened from Window > Tutorial Master > Tutorial Master. From there, simply select the GameObject that has the TutorialMasterManager component.
Creating Tutorial
Click Create Tutorial, and you should see your newly created tutorial.
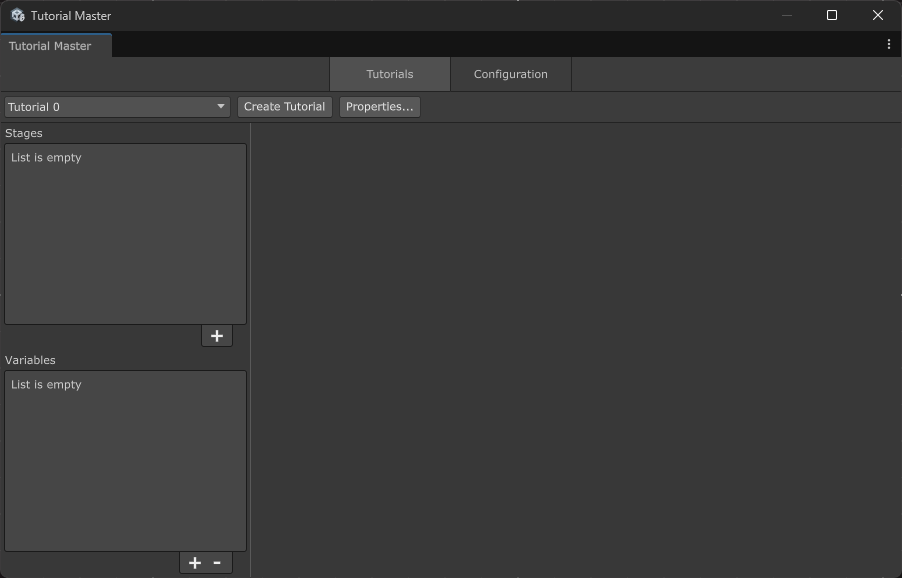
The name is not very descriptive, so let's click Properties... and set our own name.
Adding Stage
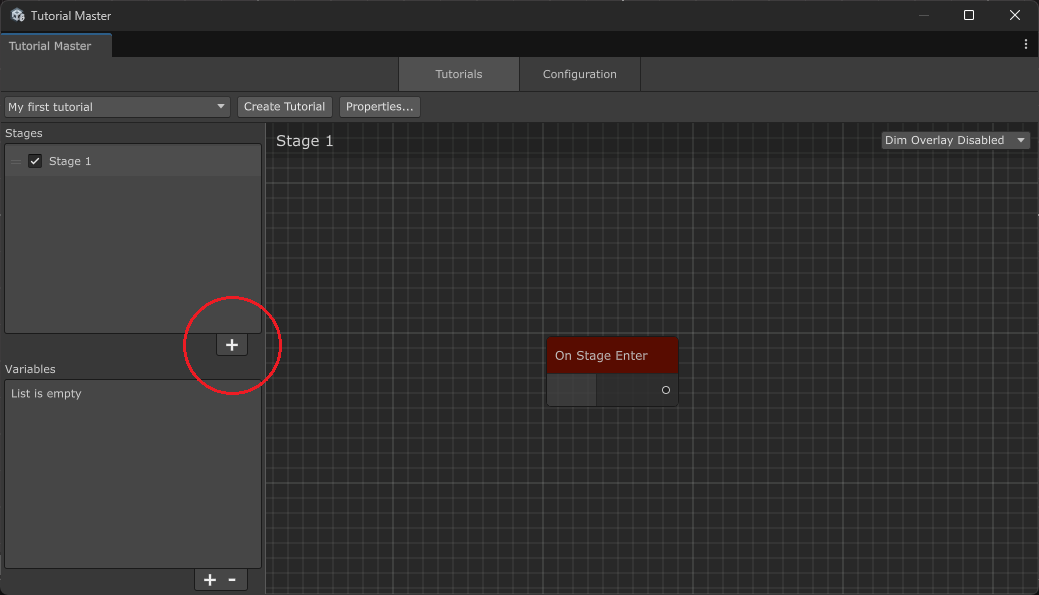
Click on the + icon to add a new Stage.
You will be presented with an empty graph view with a single event: On Stage Enter. This is an entry point for all of your actions.
Adding Action
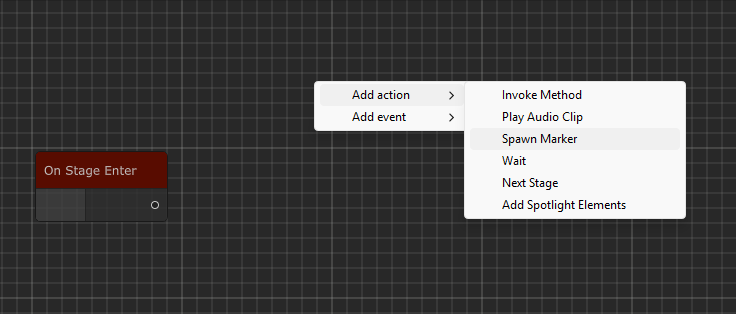
For this Stage, we just want to greet our Player with a Pop-up. Right-click anywhere in the graph and select Add Action > Spawn Marker.
Adding an Action by itself is not enough for it to run at runtime. For that to actually happen, we need to connect it to the On Stage Enter event.
To do that, simply drag between the ports.
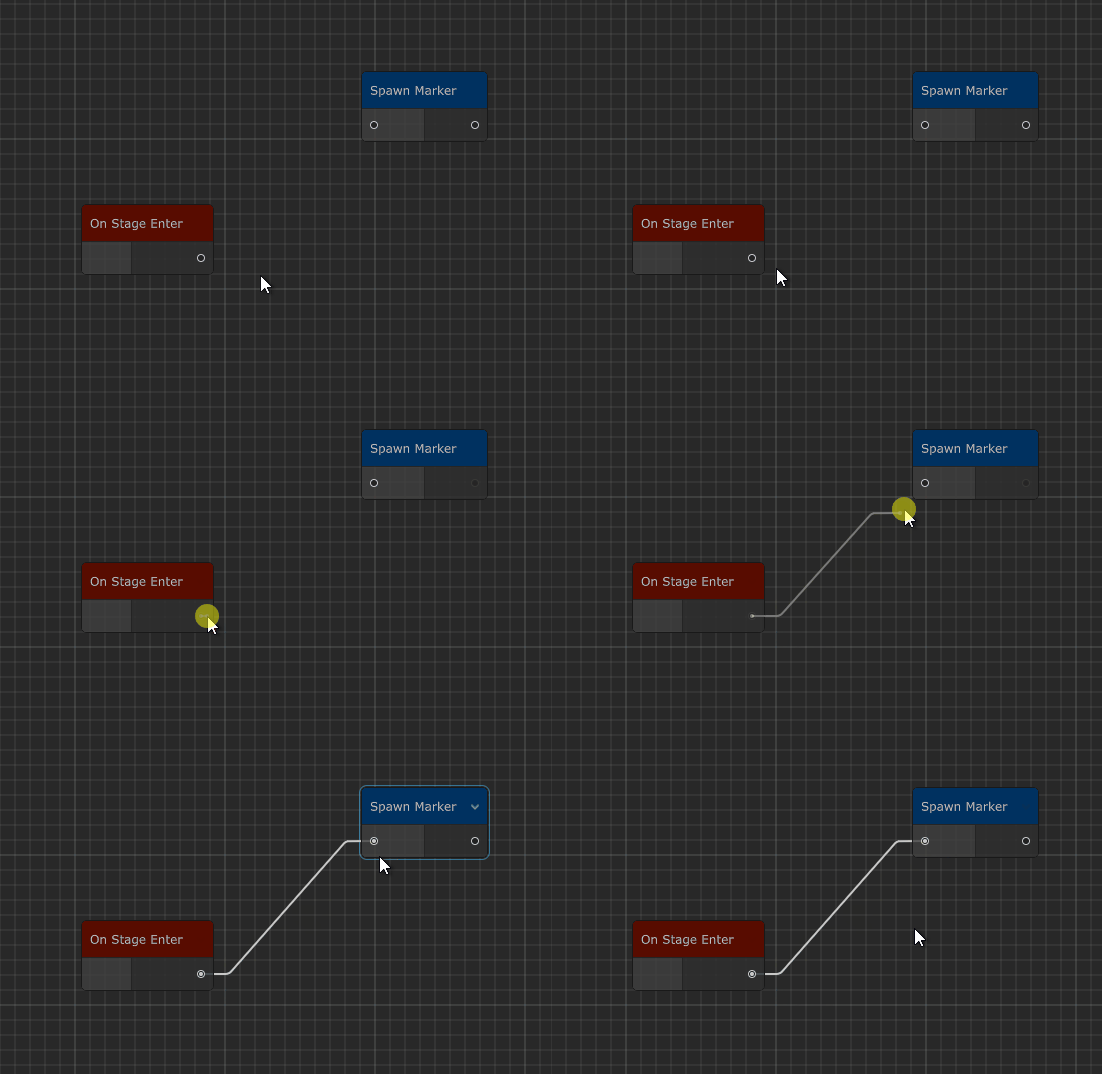
You can also create and connect actions in one step: drag from an output port and drop it on empty space. A menu will appear letting you quickly select an action to create, which will be automatically connected to the port you dragged from.

Modifying Action
When selecting Actions or Events, their properties will be displayed in your Inspector window.
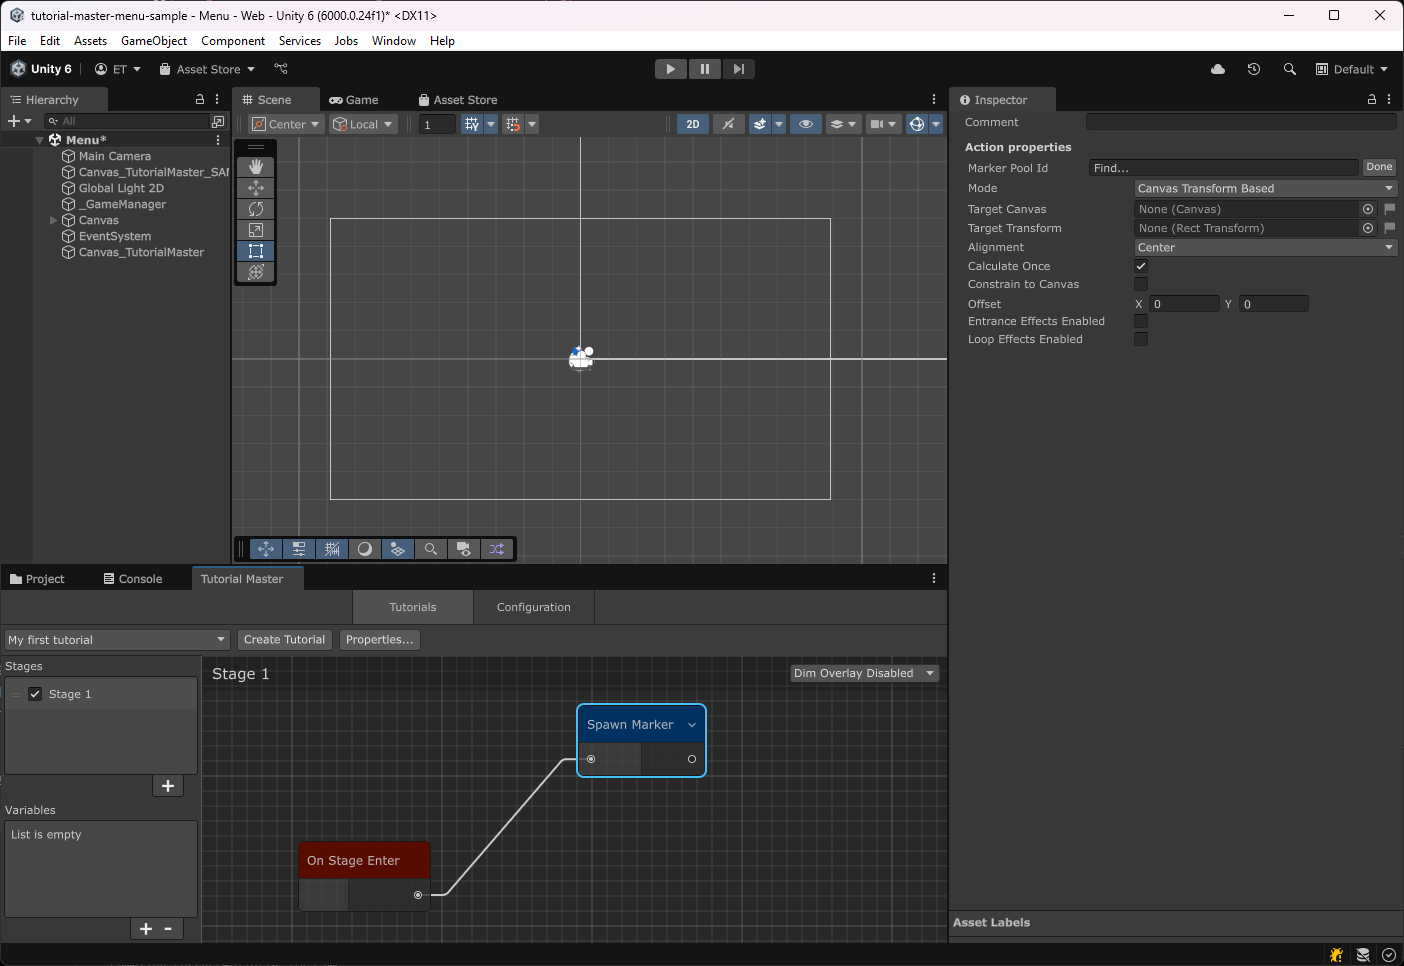
Selecting Marker Pool
Select the Marker Pool Id from the dropdown. Pick Pop-Up as we want to show some sort of message.
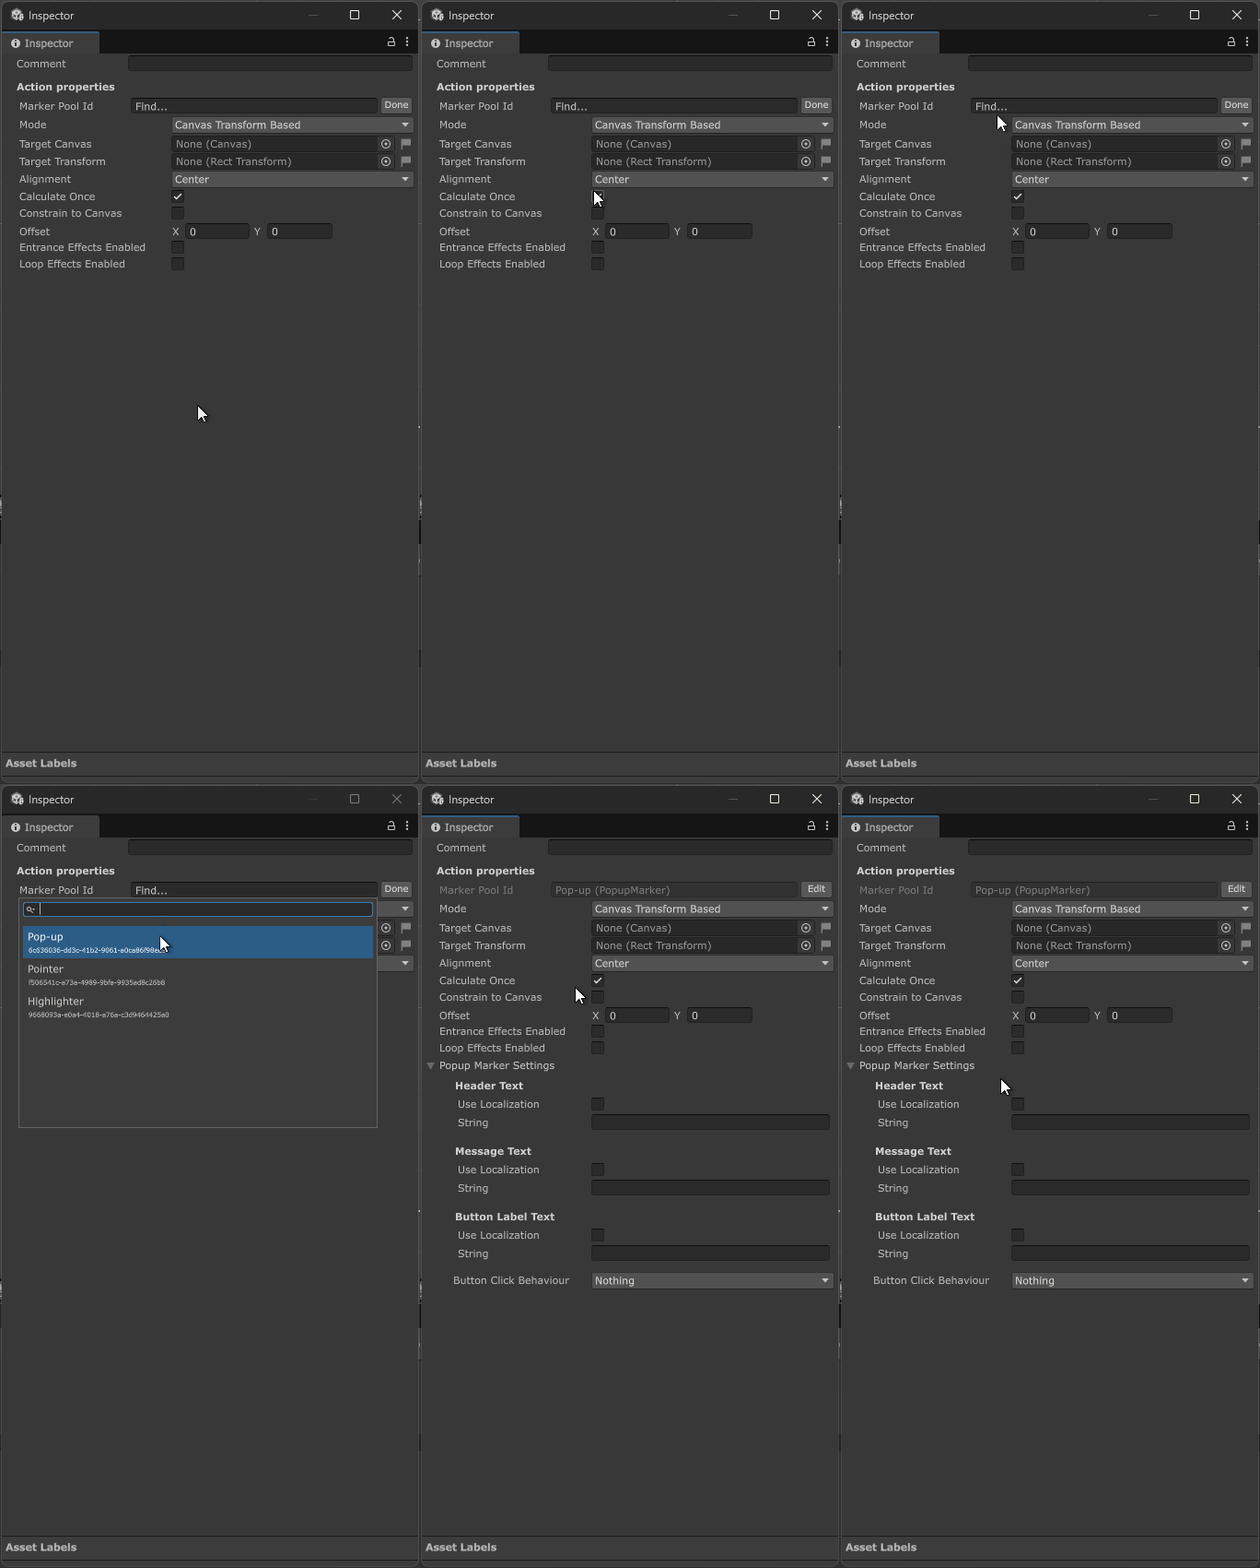
Selecting an appropriate Marker Pool will reveal additional settings.
While you can change the Marker Pool at any time, it's not recommended as doing so will result in loss of additional settings.
Setting up positioning
For now, let's set our Marker to be positioned in the center of the screen.
To do that:
- Set Mode to Anchor Based
- Set Alignment to Center
Keep all other settings as they are.
Adding Entrance effects
It would be slightly boring for UI to just simply pop into existence, so let's add some Entrance effects.
Toggle Entrance Effects Enabled and you should see a list. Add a Fade-in effect.
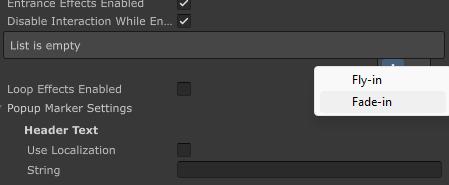
Play around with settings here. The timing (i.e. "Start With Previous" vs "Start After Previous") does not matter for a single effect.
Adding text
This guide assumes you have Unity Localization package installed, but it's not required. Your UI will look a lot more simple if you don't.
For this guide, we will not be localizing our text.
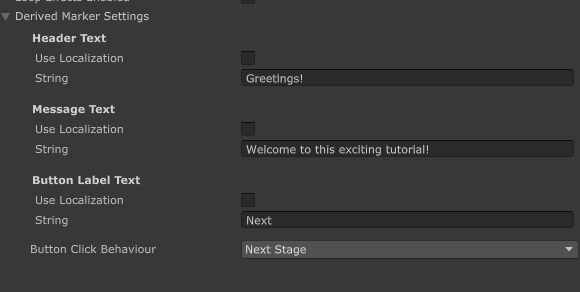
The Button Click Behaviour was set to Next Stage which will take us to the next Stage (or finish the Tutorial if there are no more stages left) on button click.
Testing tutorial
At the moment, Tutorial Master Manager does not support starting tutorials on Start. For that, we'll need to create our own Script.
This script will run our tutorial on Start:
using WorldTools.TutorialMaster.Core.Components;

[RequireComponent(typeof(TutorialMasterManager))]
public class TutorialRunner : MonoBehaviour
{
    private TutorialMasterManager m_Manager;

    void Start()
    {
        m_Manager = GetComponent<TutorialMasterManager>();

        m_Manager.Initialize();                             // we need to initialize everything
        m_Manager.StartTutorial("My first tutorial");       // start the tutorial named "My first tutorial"
    }
}
Be sure to attach it to the same GameObject that has the TutorialMasterManager component.
Run the game and the Marker should spawn.
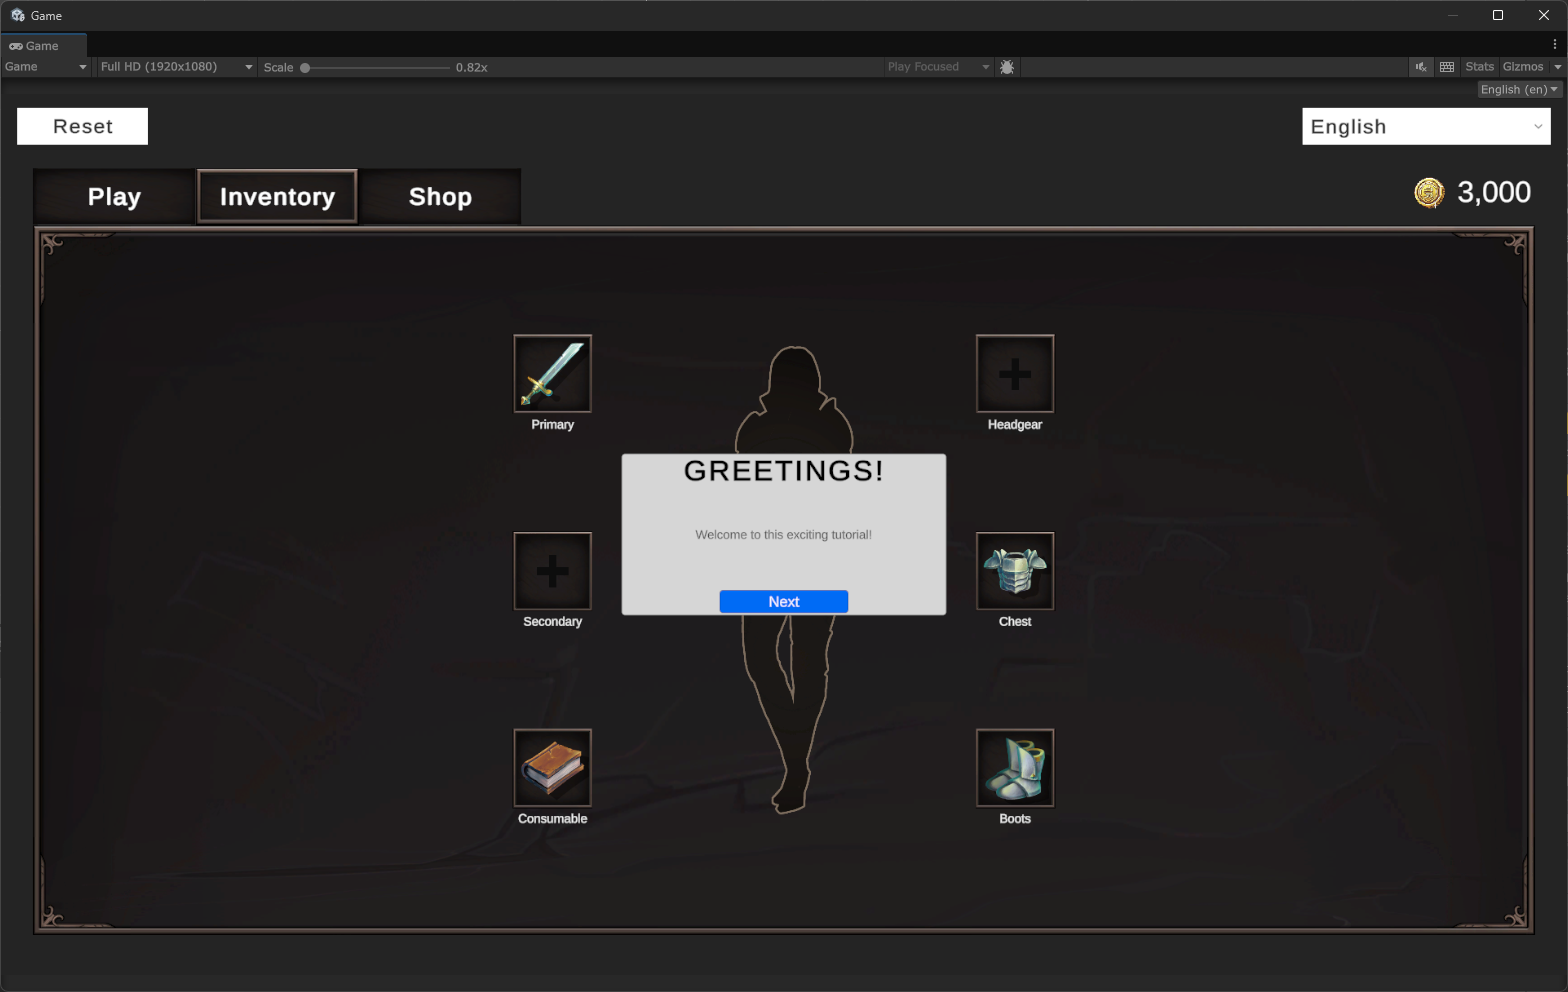
And pressing Next should dismiss it, finishing the Tutorial as this is the only Stage.
Adding a Dim Overlay
While the tutorial is running, we don't want the Player to interact with the UI.
To achieve this, you can enable Dim Overlay for this Stage.
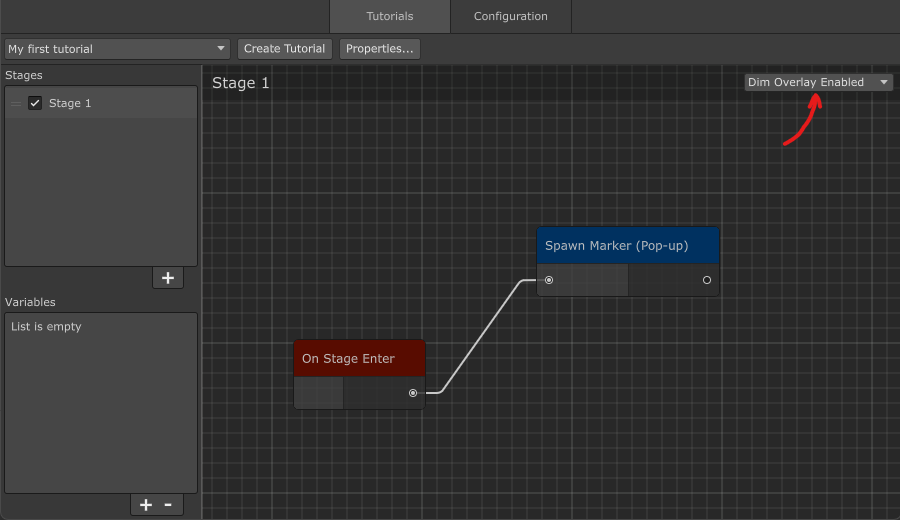
Re-run the tutorial, and you should see an overlay.
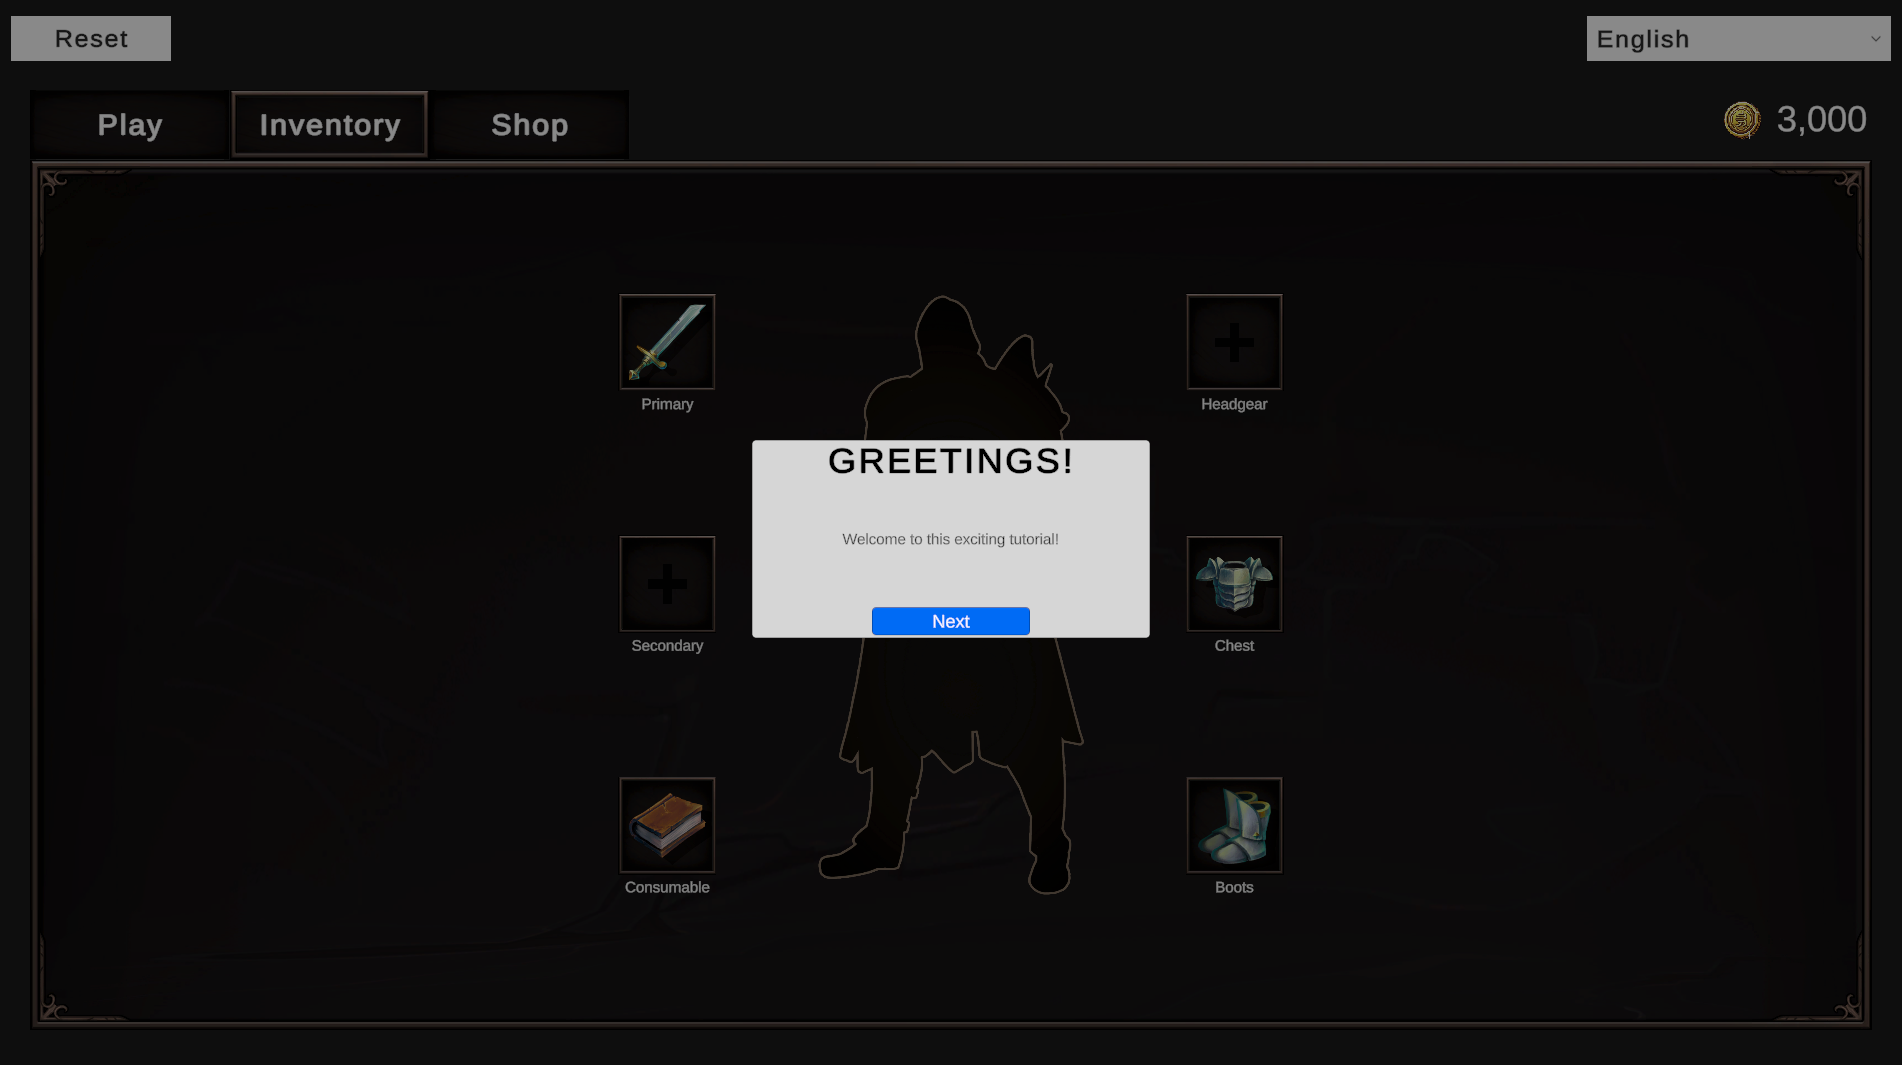
You can learn more about Dim Overlay in this section.